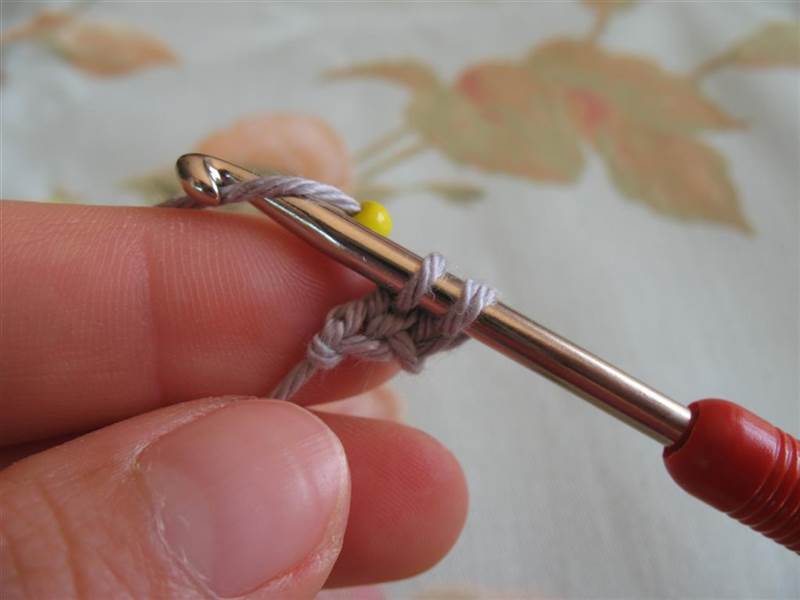
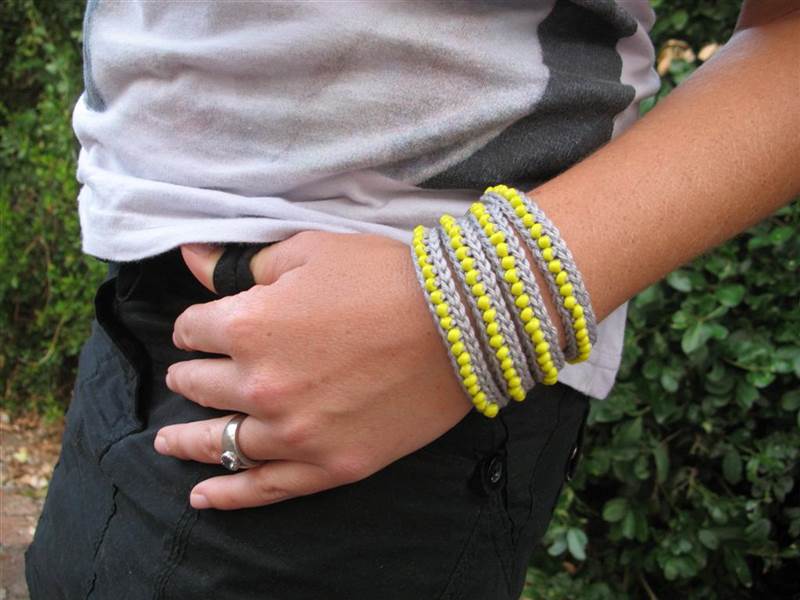
~ Wrap around crochet bracelet tutorial/pattern by Yuli ~ Free to share
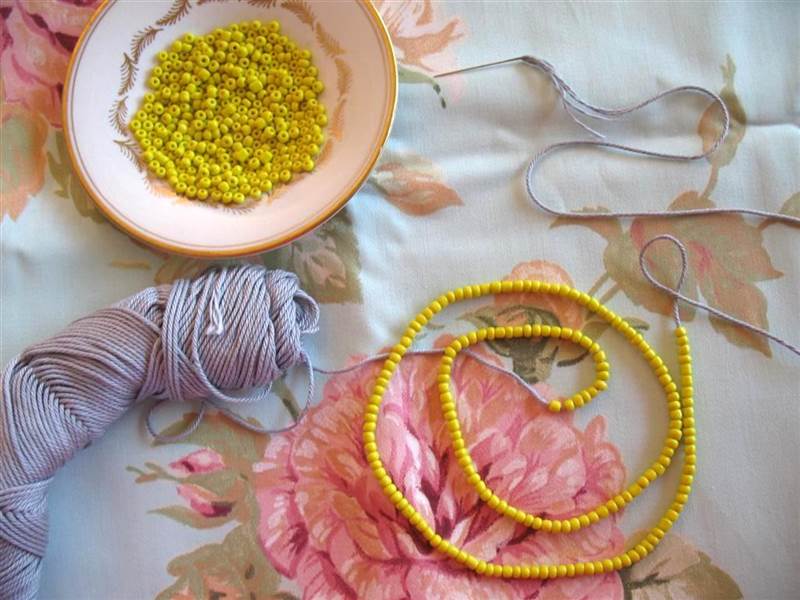
You will need:
-
DK mercerized cotton – I used Elle Premier Cotton;
-
3,5 mm crochet hook;
-
170 medium beads;
-
button;
-
needle;
-
tapestry needle (for weaving in ends)
Tip for threading beads on to the yarn:
I split yarn in half and tread it into needle from opposite direction, this makes threading easier.

Push beads along the yarn; picking them up and use them as you crochet along.
Step 1 – Chain 2.
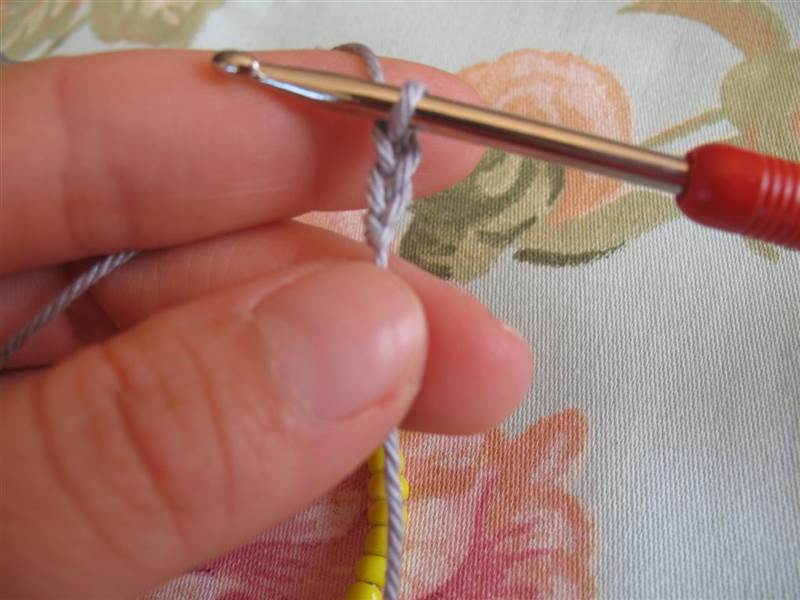
Step 2 – insert hook under 2 loops of the 1st chain. Yarn over.
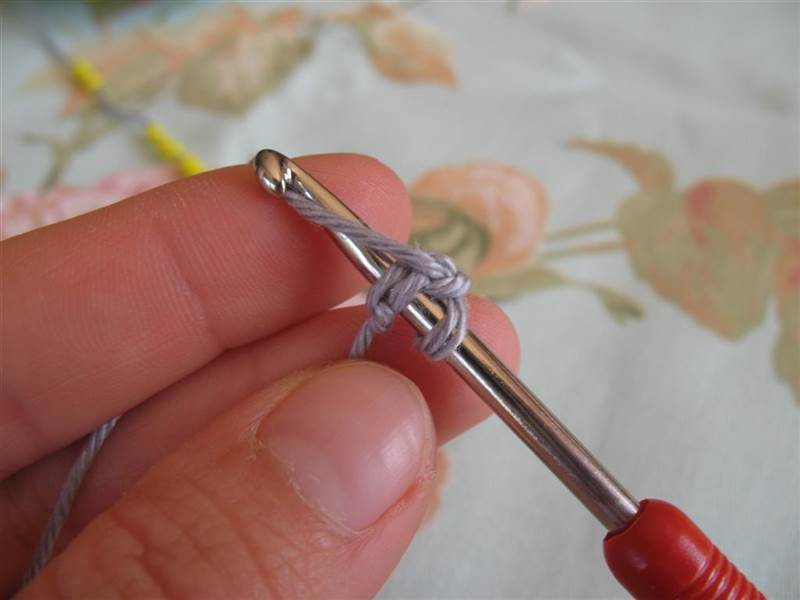
Step 3 – Pull yarn through 2 loops of the 1st chain
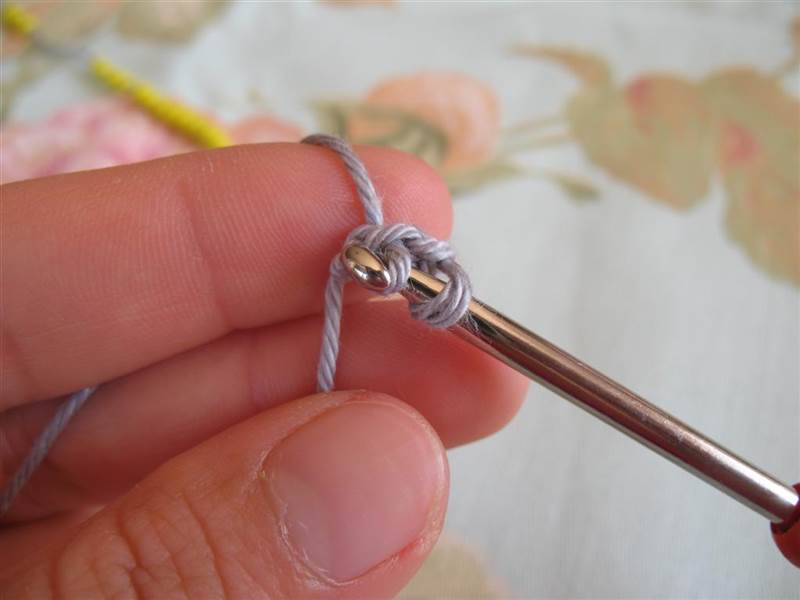
Step 4 – Yarn over and pull through 1 loop.
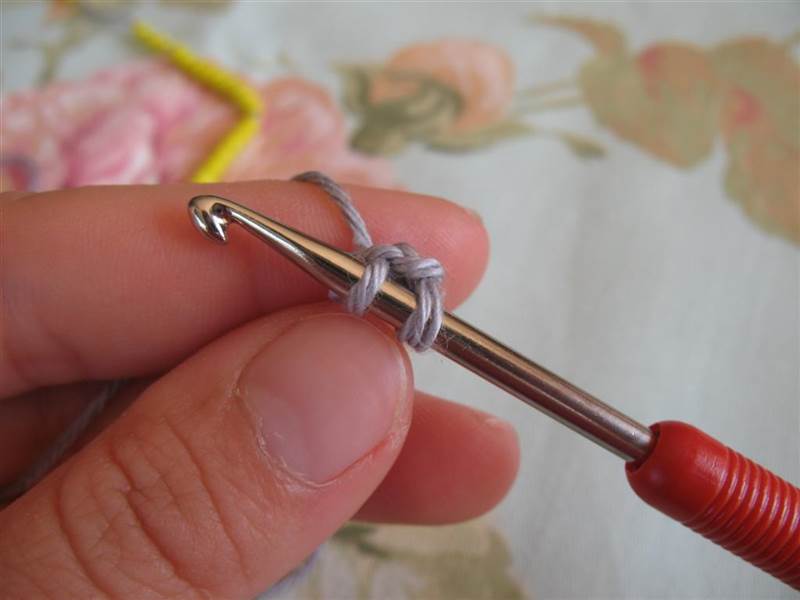
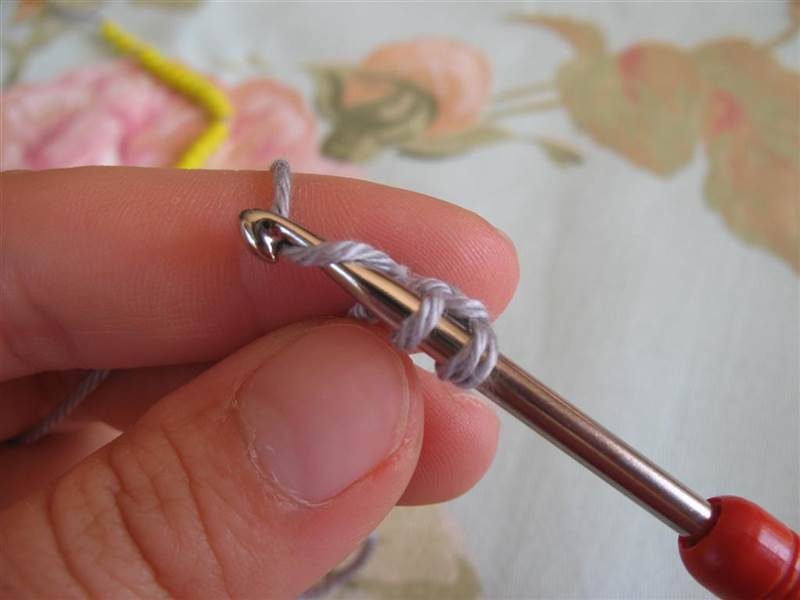
Step 5 – Push 1 bead close to hook, yarn over and pull through 2 loops on the hook.
Your bead will be placed at the back of your work

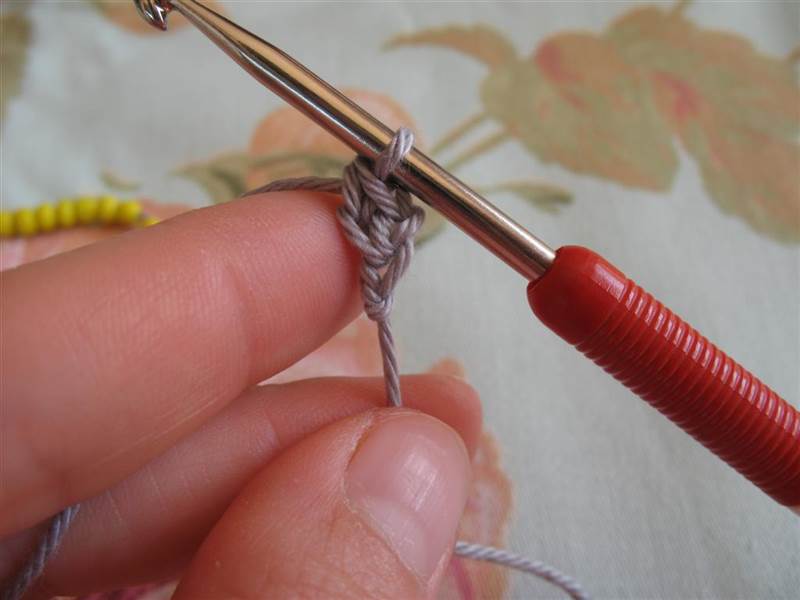
Step 6 – insert hook under base chain (2 loops)
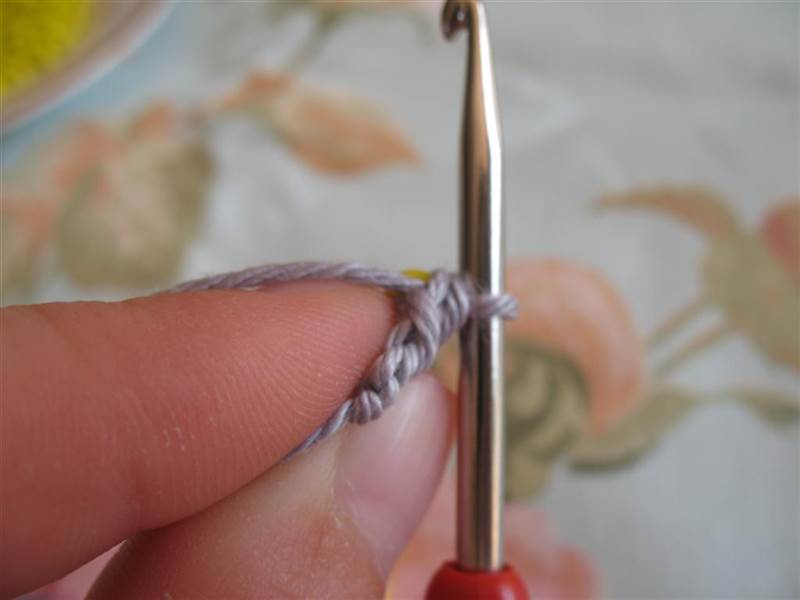
Step 7 – Yarn over, pull through 2 loops of base chain
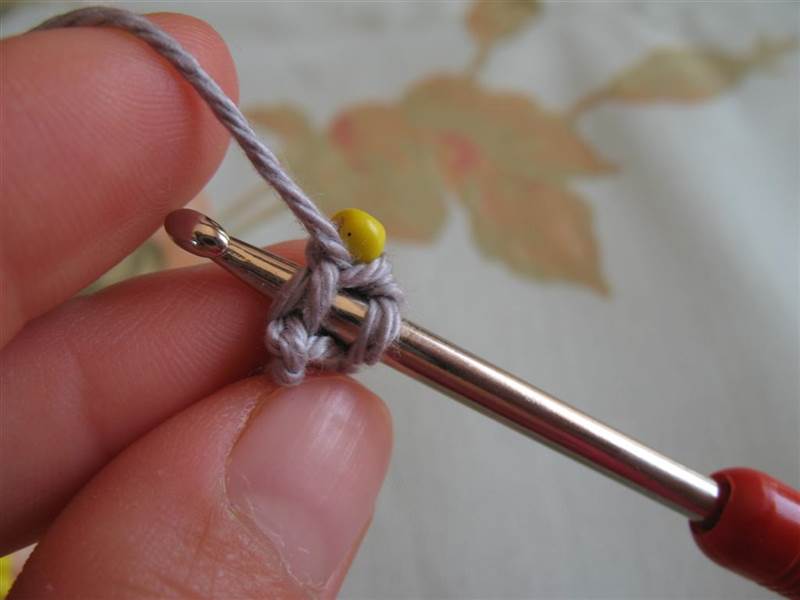
Step 8 – Yarn over and pull through 1 loop.
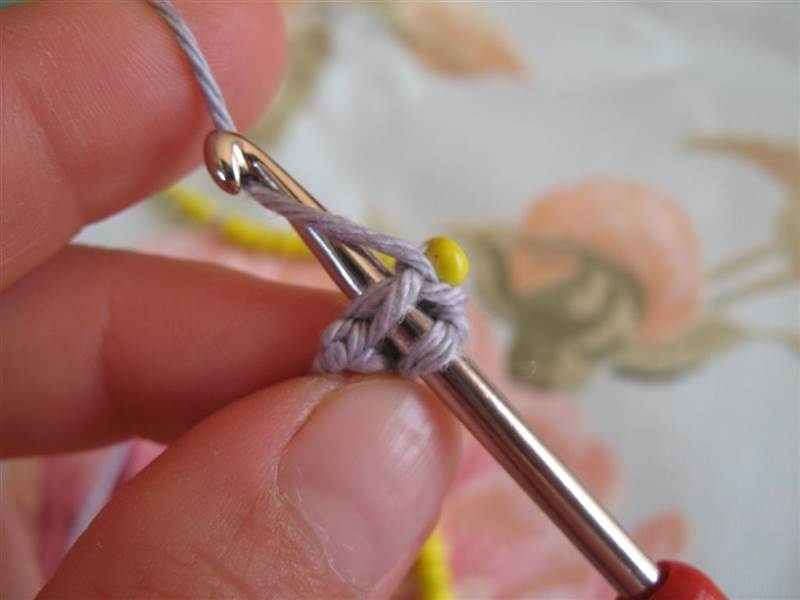
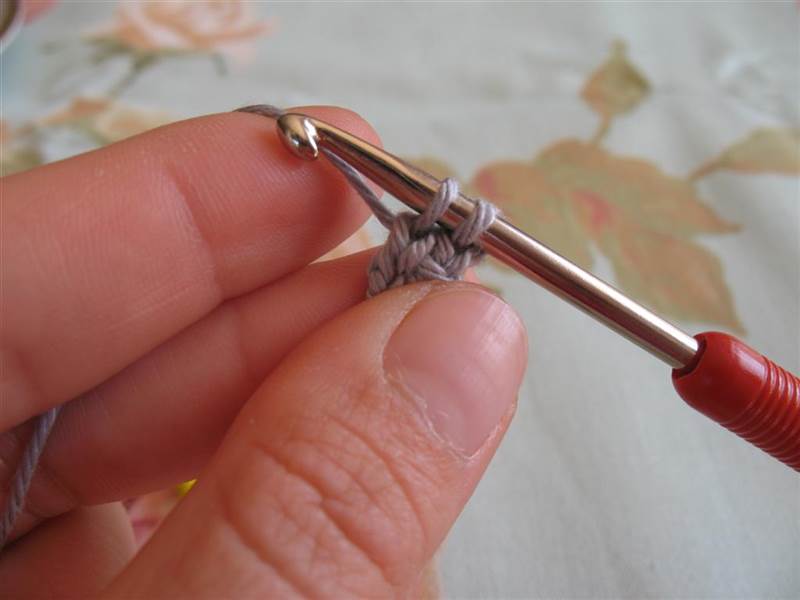
Step 9 – Push 1 bead close to hook, yarn over and pull through 2 loops on the hook.
Your bead will be placed at the back of your work
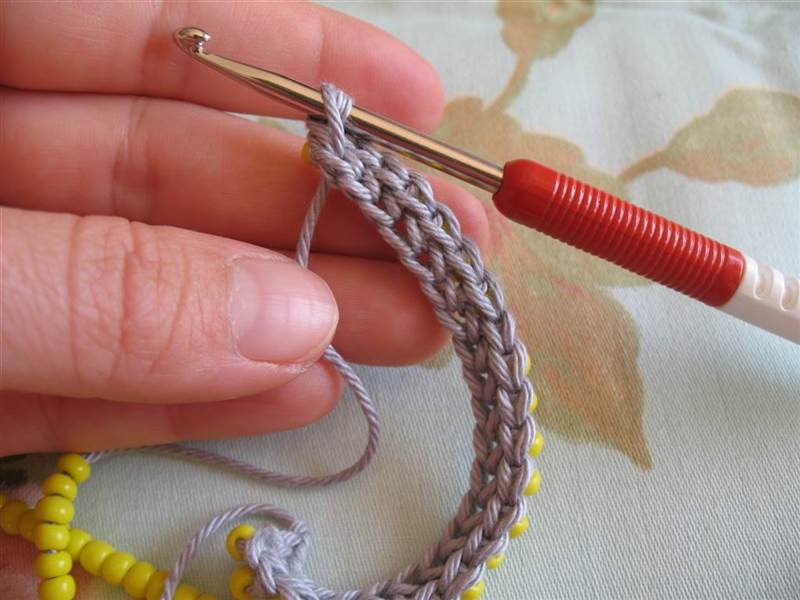
Repeat step 6 – 9 with rest of your beads
This is how your work looks like on other side
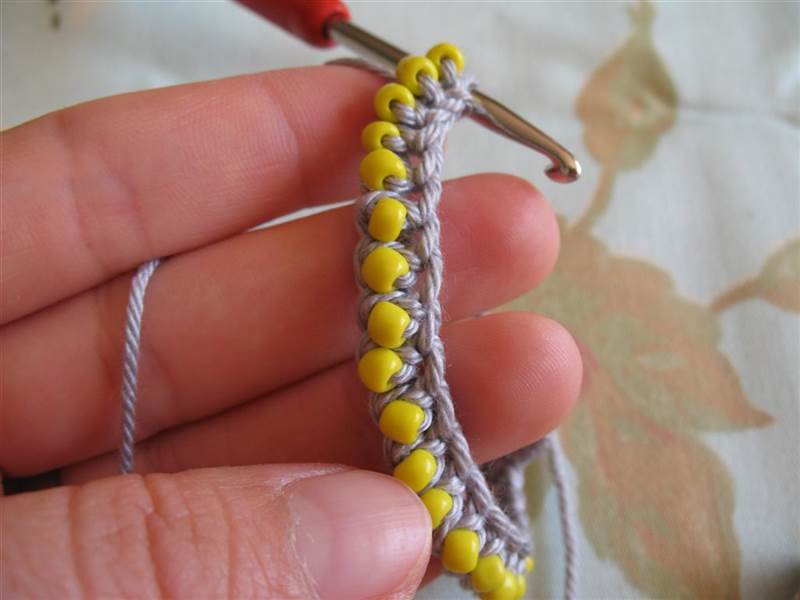
After you finish with all of your beads, repeat step 6-9 with out using bead x 1 time.
Turn you work around (beads side) and slip stitch along base chains.
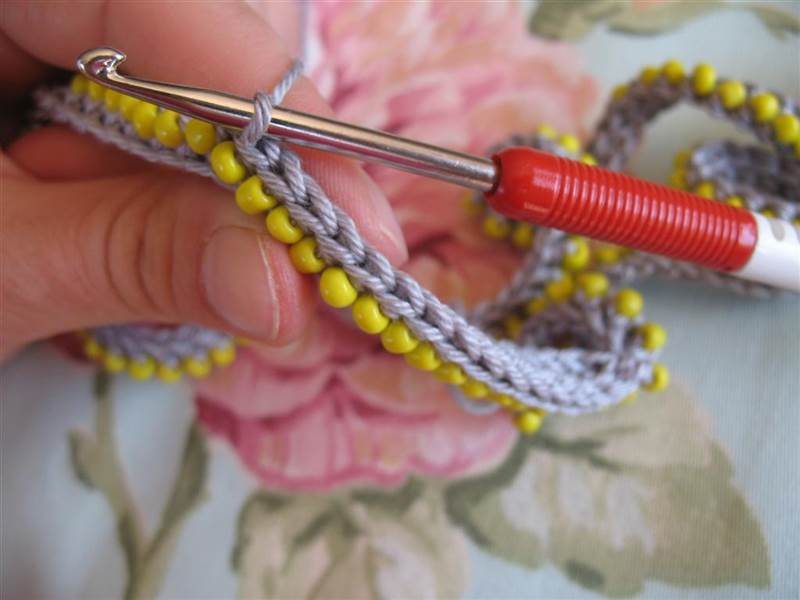
At the end of this side – chain 7 for a button loop and slip stitch along other side of base chain.
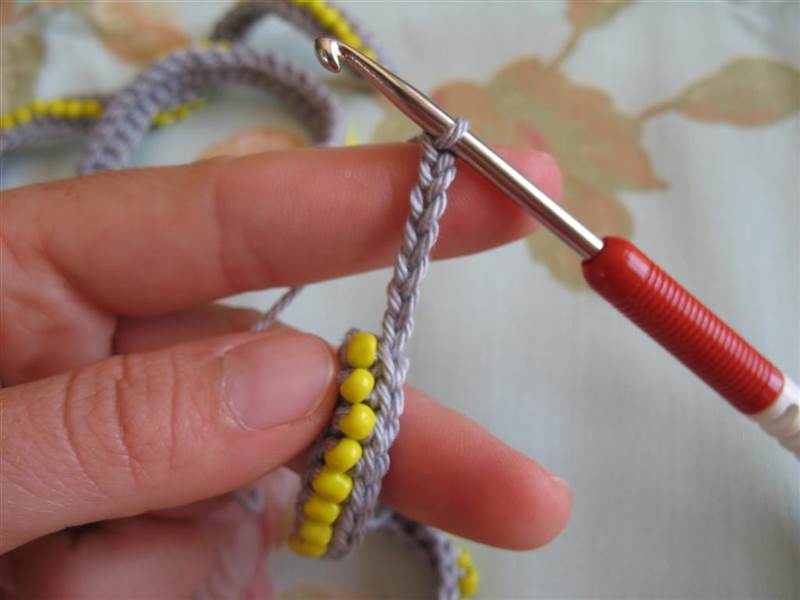
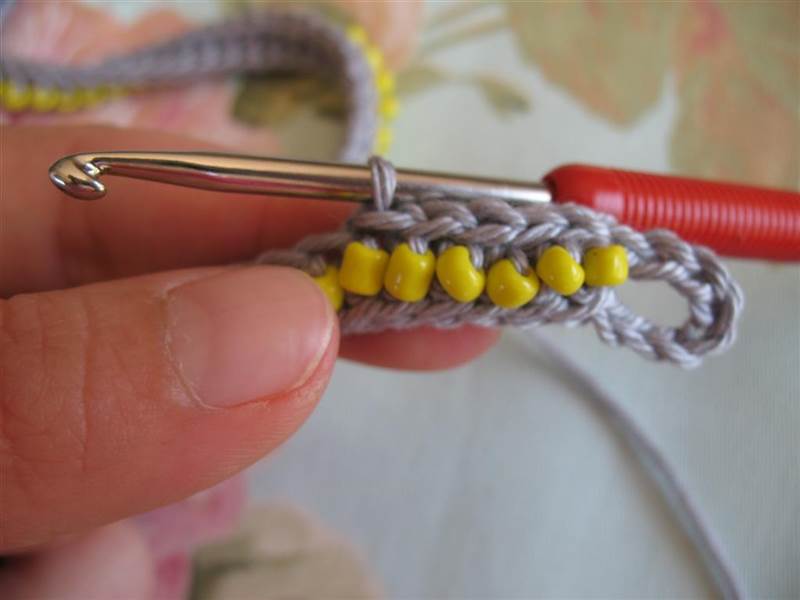
After you slip stitch to the end of this side, cut yarn + allowing enough thread for sewing button. Weave ends with tapestry needle.
